LanGeek offers a feature that allows users to share their personal wordlists, making it easier to collaborate and learn together. This guide explains how to create, manage, and share your personal wordlists with others.
How the Personal Wordlist Sharing Feature Works
-
Creating and Sharing Wordlists
You can create your own personal wordlist on LanGeek and choose to share it with others. This feature is great for study groups, classrooms, or language communities where shared resources can improve learning. -
Privacy and Public Access
Your personal wordlists are private by default. You have complete control over which wordlists you share. To make a wordlist public, you simply need to enable the option to share it with others. -
Bookmarking Shared Wordlists
Once a personal wordlist is made public, others can access it by bookmarking the link. Bookmarked wordlists will appear in their “My Wordlists” page under the “Bookmarked Wordlists” section. -
Follow Visibility
The user who created the personal wordlist will be able to see who has bookmarked it. These individuals are shown as followers on the wordlist page.
Making a Personal Wordlist Public
To make your personal wordlist public, follow these steps:
-
Go to “My Wordlists”
Log in to LanGeek and click on your avatar to navigate to the “My Wordlists” section. -
Select Your Wordlist
Under “Created by me”, choose the personal wordlist you want to share. -
Enable Public Access
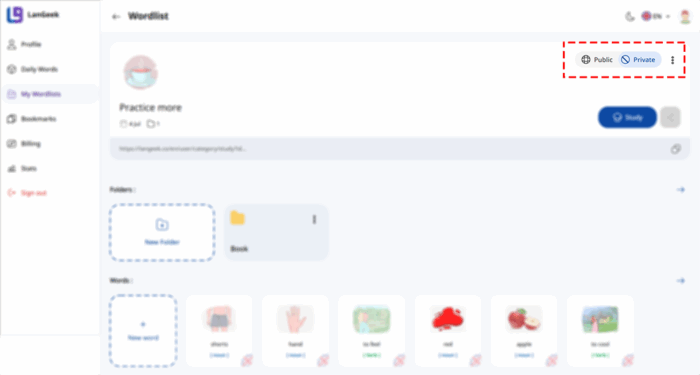
On the wordlist page, you will see a radio button with two options: “Public” and “Private”. Select “Public” to make your wordlist available to others. -
Share the Link
Once your wordlist is public, you can copy the link and share it with anyone. People who have the link can view and bookmark the wordlist to their own account.

Managing Bookmarked Wordlists
When someone bookmarks your personal wordlist, they can access it in their “My Wordlists” section under “Bookmarked Wordlists.” This makes it easy to manage and refer back to shared wordlists.
Practical Uses of the Personal Wordlist Sharing Feature
-
Teachers and Classrooms: Educators can create wordlists for their students and share them, ensuring all students have the same vocabulary resources.
-
Collaborative Learning: Study groups can create and share wordlists, pooling their knowledge to help each other learn more effectively.
-
Online Courses: Course creators can share wordlists tailored to course content, making it easier for learners to access important vocabulary.
-
Language Communities: Language learning communities can share wordlists on specific topics, allowing learners to explore new vocabulary areas.
User-Created Wordlists on the Vocabulary Page
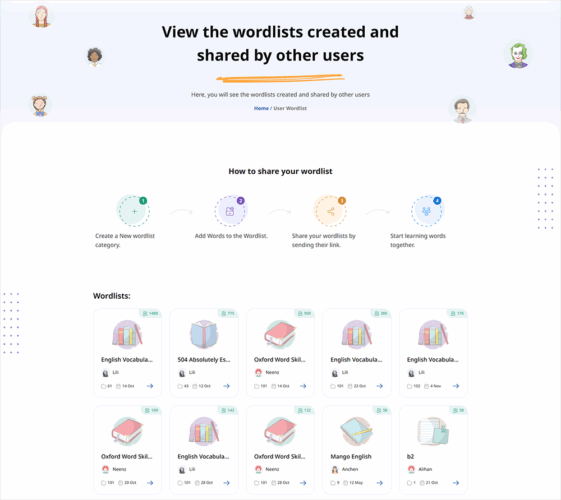
In addition to sharing personal wordlists directly, LanGeek also presents user-created wordlists on the vocabulary page of the website. This allows everyone to explore and access wordlists created by other users, contributing to a growing collection of shared resources.


